
What Happens During a Professional Floor Stripping Service

A commercial floor can look worn out long before it is actually damaged. Mopping stops cutting through the haze. Foot traffic leaves visible paths near doorways and checkout counters. The shine that once made a lobby or showroom look sharp fades into a dull, yellowish film no amount of buffing seems to fix. At that point, the floor usually does not need replacing. It needs a floor stripping service to remove the buildup underneath and start fresh.
Floor stripping confuses a lot of building owners because it looks similar to routine mopping from the outside. The process is actually far more involved. Knowing what happens at each stage makes it easier to judge whether a crew is doing the job correctly.
Most floors do not end up dull overnight. Every mop pass leaves a thin trace of cleaning residue behind, and every layer of wax applied over the last one adds a little more thickness to the finish. Grit tracked in from outside acts like sandpaper on the surface with every step. Over months, these layers trap dirt, yellow with age, and build into a haze that no amount of mopping removes. Stripping is the only way to clear that buildup and start with a clean surface again.
Stage 1: Assessing the Floor
A stripping job starts with a walkthrough, not a mop bucket. A technician checks the floor type, since vinyl composition tile, terrazzo, and sealed concrete each respond differently to stripping chemicals. They also look for existing damage: cracks, loose tiles, or spots where old wax has yellowed unevenly. This step decides which stripping solution and equipment fit the job, and it catches problems that stripping alone will not fix.
Stage 2: Protecting the Surrounding Area
Stripping solution is a strong alkaline chemical, and it can damage baseboards, furniture legs, and carpet edges if it spreads past the work area. Before any chemical touches the floor, the crew blocks off the space, places warning signs, and protects nearby surfaces. In an occupied building, this stage also includes coordinating with staff about which areas will be off-limits and for how long.
Stage 3: Applying the Stripping Solution
The technician applies the stripping solution evenly across a manageable section of floor, usually working in small zones rather than the whole space at once. The chemical needs time to sit and break down the old wax and sealant. Letting it dwell too briefly leaves old finish behind. Letting it sit too long can let it dry out and become harder to remove. Timing this stage correctly takes real experience, not just following a label.
Stage 4: Agitating and Lifting the Old Finish
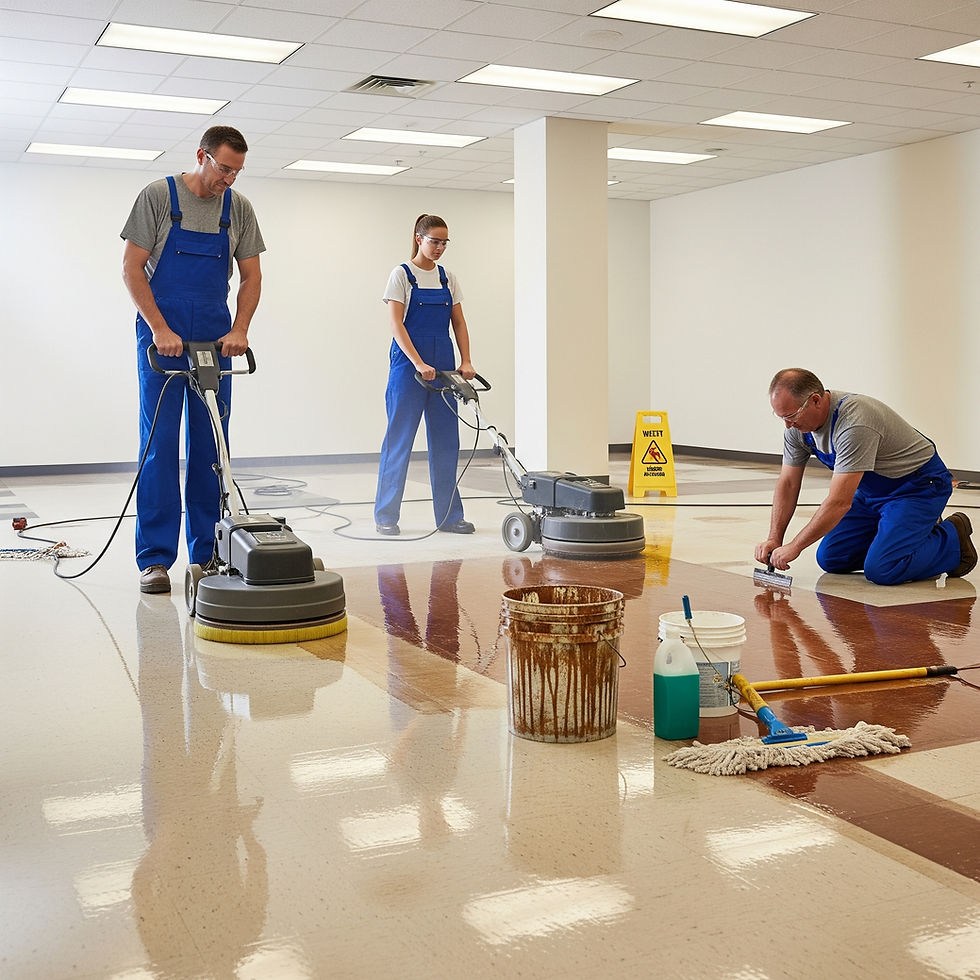
Once the solution has broken down the old coating, a floor machine fitted with a stripping pad agitates the surface to lift the loosened wax. This is the most physically demanding stage of the job. Corners, edges, and areas around fixed equipment often need hand scraping, since floor machines cannot reach tight spaces. A rushed job at this stage leaves patches of old finish that show up unevenly once new wax goes down.
Stage 5: Extracting and Rinsing
The loosened wax and dirty stripping solution get picked up with a wet vacuum or mop-and-bucket system, depending on the size of the job. The floor then gets rinsed with clean water, sometimes more than once, to remove any leftover chemical residue. Skipping a thorough rinse is a common shortcut that causes problems later. Leftover stripper can react with the new finish and cause it to peel or haze within weeks.
A number of providers, including JEM Cleaning and Property Maintenance in Piscataway, describe this extraction and rinse stage directly on their floor stripping page. Seeing how a company documents each stage upfront gives building owners a useful comparison point before choosing between quotes.
Stage 6: Neutralizing the Surface
Because stripping solution is highly alkaline, the floor often needs a neutralizing rinse to bring it back to a balanced pH before new finish goes on. Skipping this step is one of the most common reasons a fresh coat of wax fails to bond properly. A neutral floor gives the new sealer and finish a clean, stable surface to adhere to.
Stage 7: Applying Sealer and Finish
Once the floor is completely dry, a fresh sealer goes down first, followed by several thin coats of wax or finish. Each coat needs time to dry before the next one goes on top. Applying coats too thick or too fast usually causes bubbling, streaking, or a soft finish that scuffs easily under normal foot traffic.
How Often Floors Actually Need This
Timing varies by traffic and floor type, but general guidance holds up across most commercial settings. High-traffic areas, such as retail entrances, hallways, and break rooms, typically need a full floor stripping service every six to twelve months. Lower-traffic spaces, including many residential floors, can often go one to three years between treatments. Buffing and routine maintenance in between extends the life of the finish. It cannot replace full stripping once wax buildup and yellowing set in.
Stripping Versus Buffing: Knowing the Difference
Building managers sometimes confuse the two, and the difference matters for budgeting and scheduling. Buffing polishes the existing finish and restores shine without removing any wax. It works well as regular upkeep between full treatments. Stripping removes the finish entirely, layer by layer, down to the original floor. A floor that looks dull after buffing usually needs stripping instead, since buffing cannot fix buildup or deep discoloration sitting underneath the surface.
What a Quality Floor Stripping Service Looks Like in Practice
A few practical signs separate a careful crew from a rushed one. Ask whether they test a small section first on an unfamiliar floor type. Watch whether corners and edges get the same attention as open areas. Confirm the number of finish coats included, since two coats wear out much faster than four or five.
What Affects the Cost of the Job
Several factors drive pricing beyond square footage alone. Floor type matters, since terrazzo and certain natural stone need gentler chemicals and slower work than standard vinyl tile. Obstacles such as fixed shelving, heavy equipment, or tight corners add labor time because a floor machine cannot reach those areas. The number of finish coats requested changes both material cost and drying time between coats. Buildings that need work done outside business hours, overnight or on weekends, sometimes carry a scheduling premium as well. Getting a written quote that breaks down these factors makes it easier to compare providers fairly instead of judging only by the bottom-line number.
Signal | Buffing Alone | Full Floor Stripping Service |
Floor looks dull but has no visible buildup | Usually sufficient | Not necessary yet |
Yellowing or cloudy haze across the surface | Will not resolve it | Needed to remove buildup |
Visible wear patterns near doors or aisles | Temporary improvement only | Needed for a lasting fix |
Six to twelve months since the last full treatment (high traffic) | Fine as interim maintenance | Due for scheduling |
Getting Ready for the Appointment
A few simple steps make the job go faster. Clear loose items, mats, and furniture from the floor area ahead of time. Confirm whether the crew needs the space fully vacated or can work around light foot traffic in sections. Ask how long the floor needs to cure before it can be walked on again. Fresh finish is more vulnerable to scuffing in the first day or two.
Plan around the timeline honestly. A single room might be ready to use again within hours, but a full lobby or warehouse floor can take a full day or longer between the last coat and safe foot traffic. Scheduling the work for an evening, weekend, or a planned closure avoids the scramble of moving people around wet floors mid-shift.
The Bottom Line
A dull, yellowing commercial floor is not a lost cause, and it rarely needs full replacement. A properly done floor stripping service resets the surface to bare, clean material and gives a fresh finish the chance to bond and last. Understanding each stage, from the initial assessment through the final coats of sealer, makes it much easier to judge the crew working in your building. It shows whether they are doing the job right or cutting corners that will show up again in a few months.

Comments